Lokale Tiki Installation mit EasyPHP | |
|
Dies ist ein Unterabschnitt von Windows Desktopinstallation. Tiki baut hauptsächlich auf drei externen Anwendungen auf um zu funktionieren.
Sind diese Anwendungen erst einmal installiert, muss eine Tikidatenbank und ein Datenbankbenutzer mit entsprechenden Benutzerrechten erstellt werden. OK, es kann losgehen. Was benötige ich?
Sie erklären, wie EasyPHP (welches auf einfache Art PHP, Apache, MySQL und weiteres zur Verfügung stellt) und dann Tiki installiert wird. Getestet wurden sie unter:
Voraussetzungen:
| |
Schritt 1: EasyPHP und Tiki herunterladen | |
|
Siehe die Links am Ende dieser Seite. Bei Tiki kannst Du zwischen verschiedenen Kompressionsformaten wählen, am wahrscheinlichsten wirst Du .zip, oder .7z wählen, wenn Du 7-Zip hast. | |
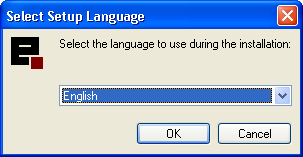
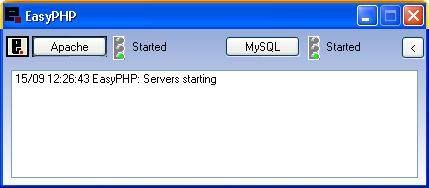
Schritt 2: EasyPHP installieren | |
Hinweis: Weitere Informationen findest Du unter http://www.canowhoopass.com/guides/easyphp/, einer ausgezeichneten Anleitung zu EasyPHP. | |
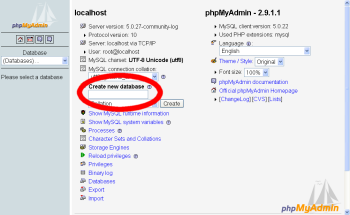
Schritt 3: Eine Datenbank für Tiki erstellen | |
| |
Schritt 4: Einen Datenbankbenutzer erstellen | |
| |
Schritt 5: MySQL neu laden | |
Klicke auf "MySQL neu laden"
| |
Step 6: Decompress Tiki files | |
| |
Step 7: Run the install script | |
You should finally enter the Tiki interface and see Permission denied you cannot view this page.
| |
If you get a timeout error, | |
| [+] You need to change your php.ini to max_execution_time= 120 and restart apache. While you are there, you can modify memory_limit = 16M The first time a page is called, Tiki generates a template. The next time, the page is generated much faster. | |
|
| |
If you get a Parse error: (...) templates_c\preferences.php on line 94 | |
| [+]
You need to go to "temp directory" here:
| |
|
| |
Possible bug if you install at C:\Program Files\EasyPHP\www\ instead of C:\Program Files\EasyPHP\www\tiki | |
| [+] | |
Step 8: Log in for the first time | |
|
Log in using the login box in the right-hand column. You will get an permission error (you cannot view the request page, or something similar). Ignore this and log in using the login box in the right-hand column. Use the following information:
| |
Step 9: Change default password | |
| |
Step 10: Congrats!!! | |
|
It is recommended to create a new user and give him/her admin privileges instead of regularly using the admin account. You can now explore the interface but you should check the extra steps before to get you started. | |
Step 11: Initial setup/configuration | |
|
Please visit Initial Configuration
Hilfreiche Links
| |


